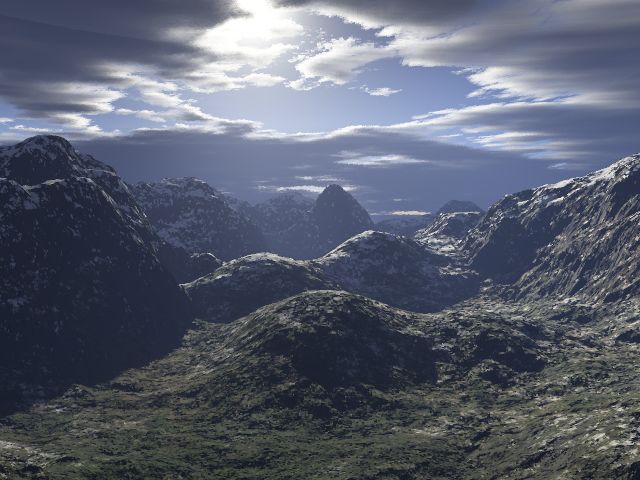
On the left, you can see the one I'm using for this tutorial. Click on it for a larger view.
Download .TER (127K)
You can see the terrain map I used on the left, and you can also download the corresponding .TER file.
Now, remove all surface maps except the base one (which you can't remove anyway). Click the base surface, then click the 'Edit' button. Set bumpiness to minimum and 'Mimic Terrain' to whatever you want - it doesn't matter since there are no bumps anyway.
Click the 'Tex' button and in the dialog that opens, click the '+' button and choose 'SO Image Overlay'.
The next dialog gives you a choice of overlay methods and terrain size. Choose 'Total Overlay' and set the terrain size option appropriately. When asked to locate a suitable bitmap, open the image you save previously (the terrain map one).
Now open the Lighting Conditions panel and move the sun directly overhead, and turn off all shadow casting options. Click the Background Light tab and set shadow lightness to full, and shadow colour to pure white.
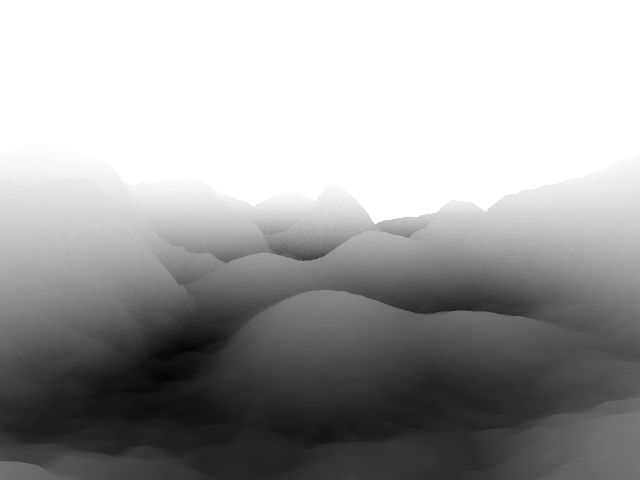
Now, render a preview - it should look something like the image on the right. This will be the 'mist mask' - you can click the preview to see the full image I used.
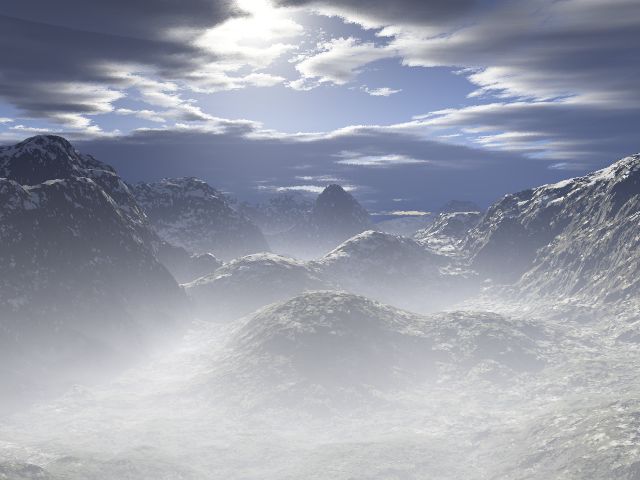
In the original image, create a new layer, then create a mask for it. Use the contents of the new image as the mask, and fill the entire layer with a suitable colour (like light grey). If you find the whole sky has been turned grey, you've got the mask the wrong way round - just make it negative and all should be well.
You may find that you'll need to play about with Levels/Curves/Gamma/whatever of the mask to get the mist to look right, but if everything goes according to plan, you should end up with something like the image on the left (click to enlarge).
